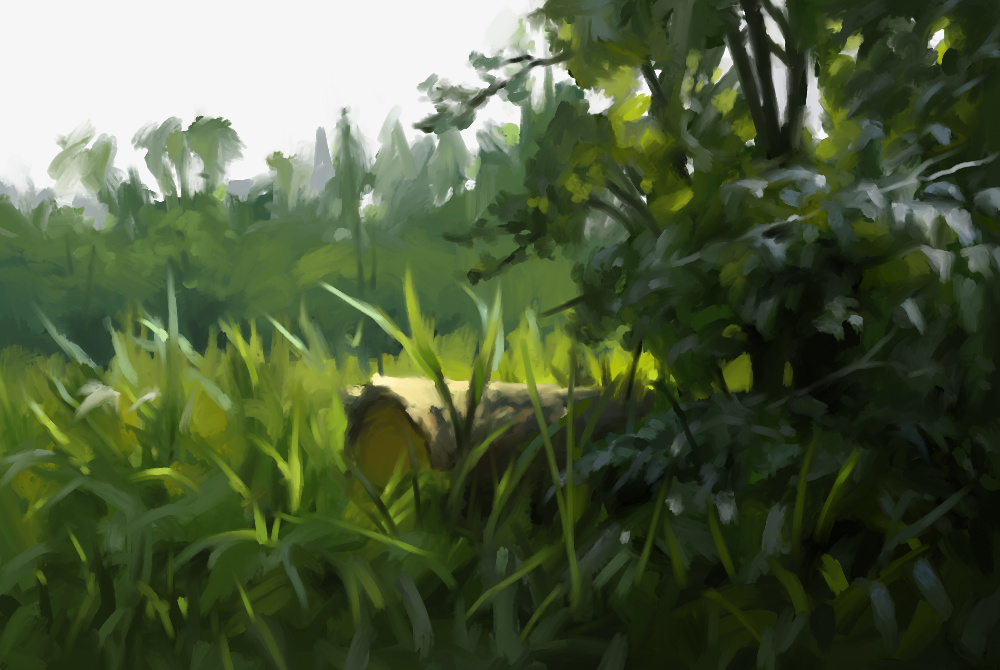
A quick still life painting using the improved smudge brush settings discussed here: https://community.mypaint.org/t/smudge-tweaks-testers-needed/1202. There is also a short process video:

A quick still life painting using the improved smudge brush settings discussed here: https://community.mypaint.org/t/smudge-tweaks-testers-needed/1202. There is also a short process video:
Nice job! Curious; are you using smudge subtractive, smudge pow, and smudge spectral here?
Thanks! So far I did not use those settings. What is a good recommendation for those 3 to simulate pigment/natural paint? I have to admit I do not yet fully understand the mechanics behind those values but I’ll use them next time ![]()
I’ve been setting pretty much all the brushes in my brush pack to: smudge_spectral=1.0, smudge_pow=2.4, smudge_subtractive=1.0. This gives you a realistic paint mode. I also generally keep opacity at 100% and instead of pressure–>opacity, I map pressure to the “smudge” setting so that light pressure == 100% smudge and hard pressure == 0% smudge. In a way, the “smudge” setting IS an opacity setting ![]()
This is amazing! Do you got a making of ?
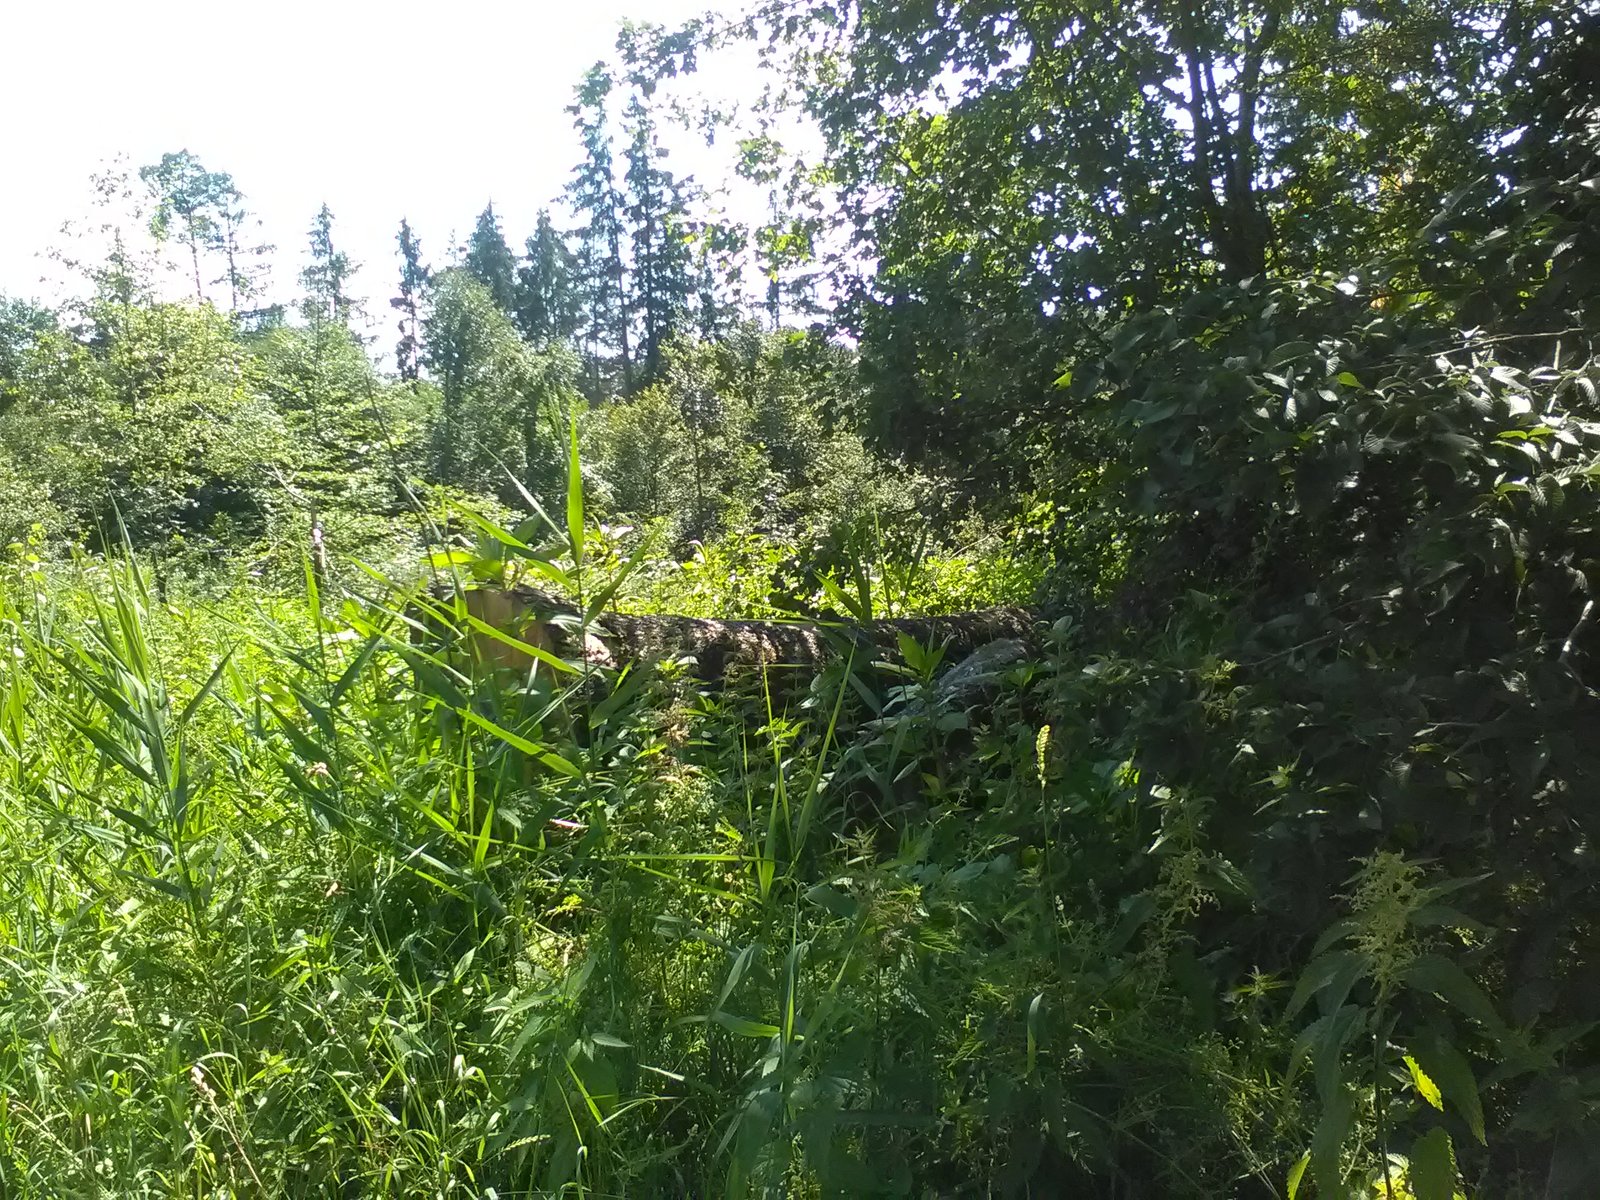
Awesome job and a great example of how a painting can improve upon a photograph ![]()
Wonderful and really helpful for a beginner like me! … It seems i missed your other videos on Vimeo, so i’ve started to watch them all, and learn from them.
Thanks a lot for sharing! ![]()
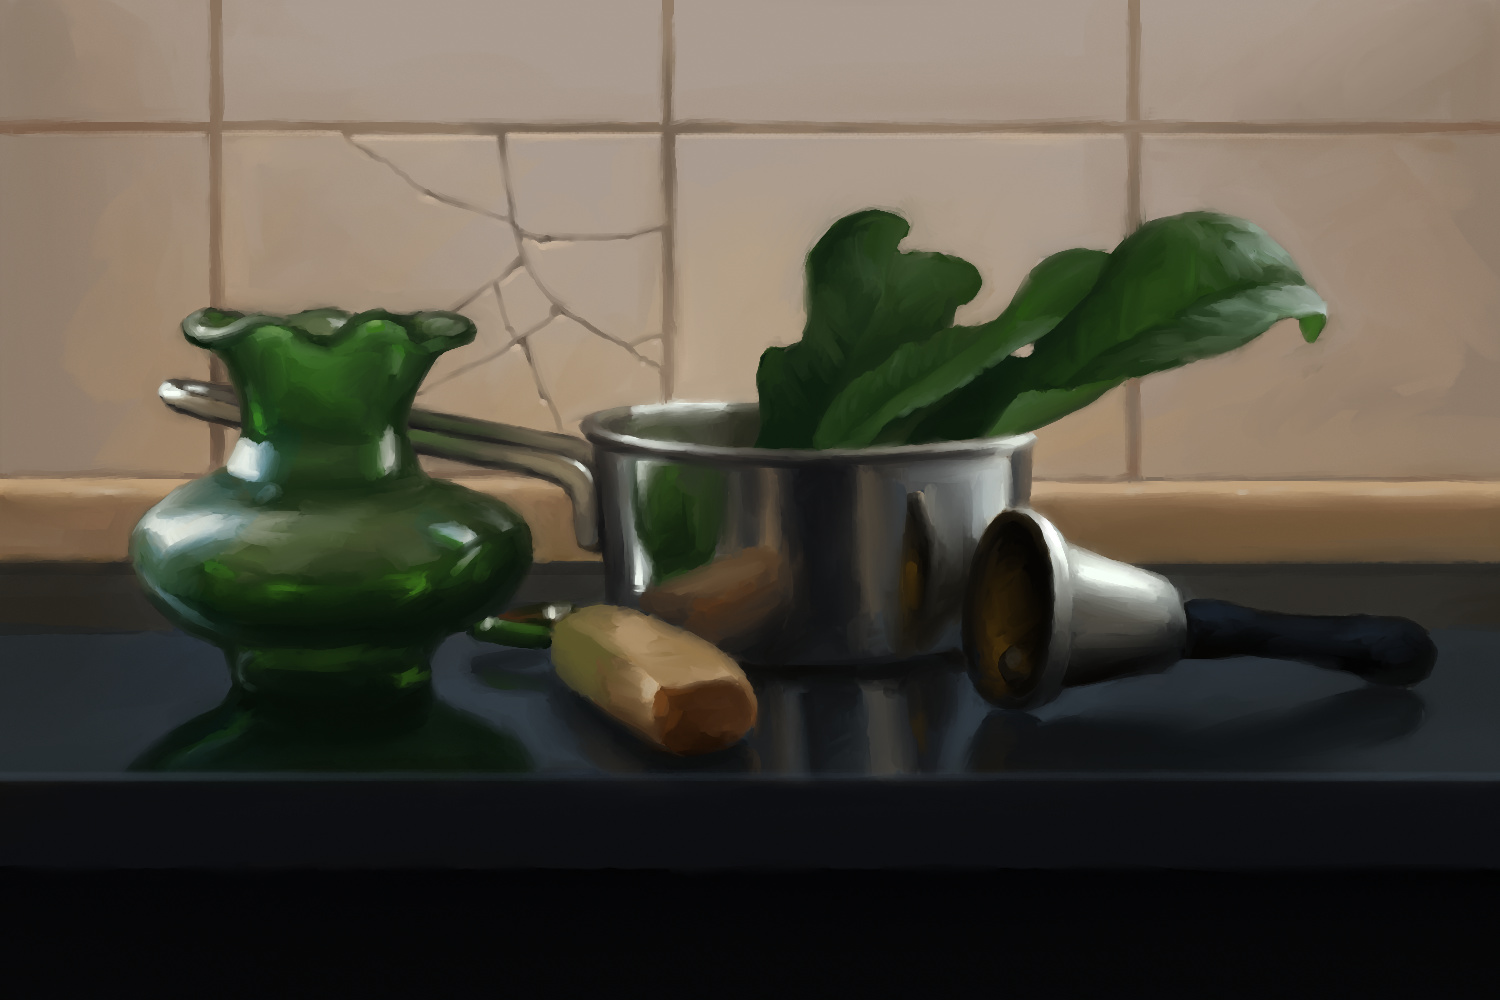
Nice… I like the soft brush style, it gives a sense of relax and comfort… but sometimes (for the fruit still life, example) maybe a little more work was necessary (I don’t know, more details maybe ?)
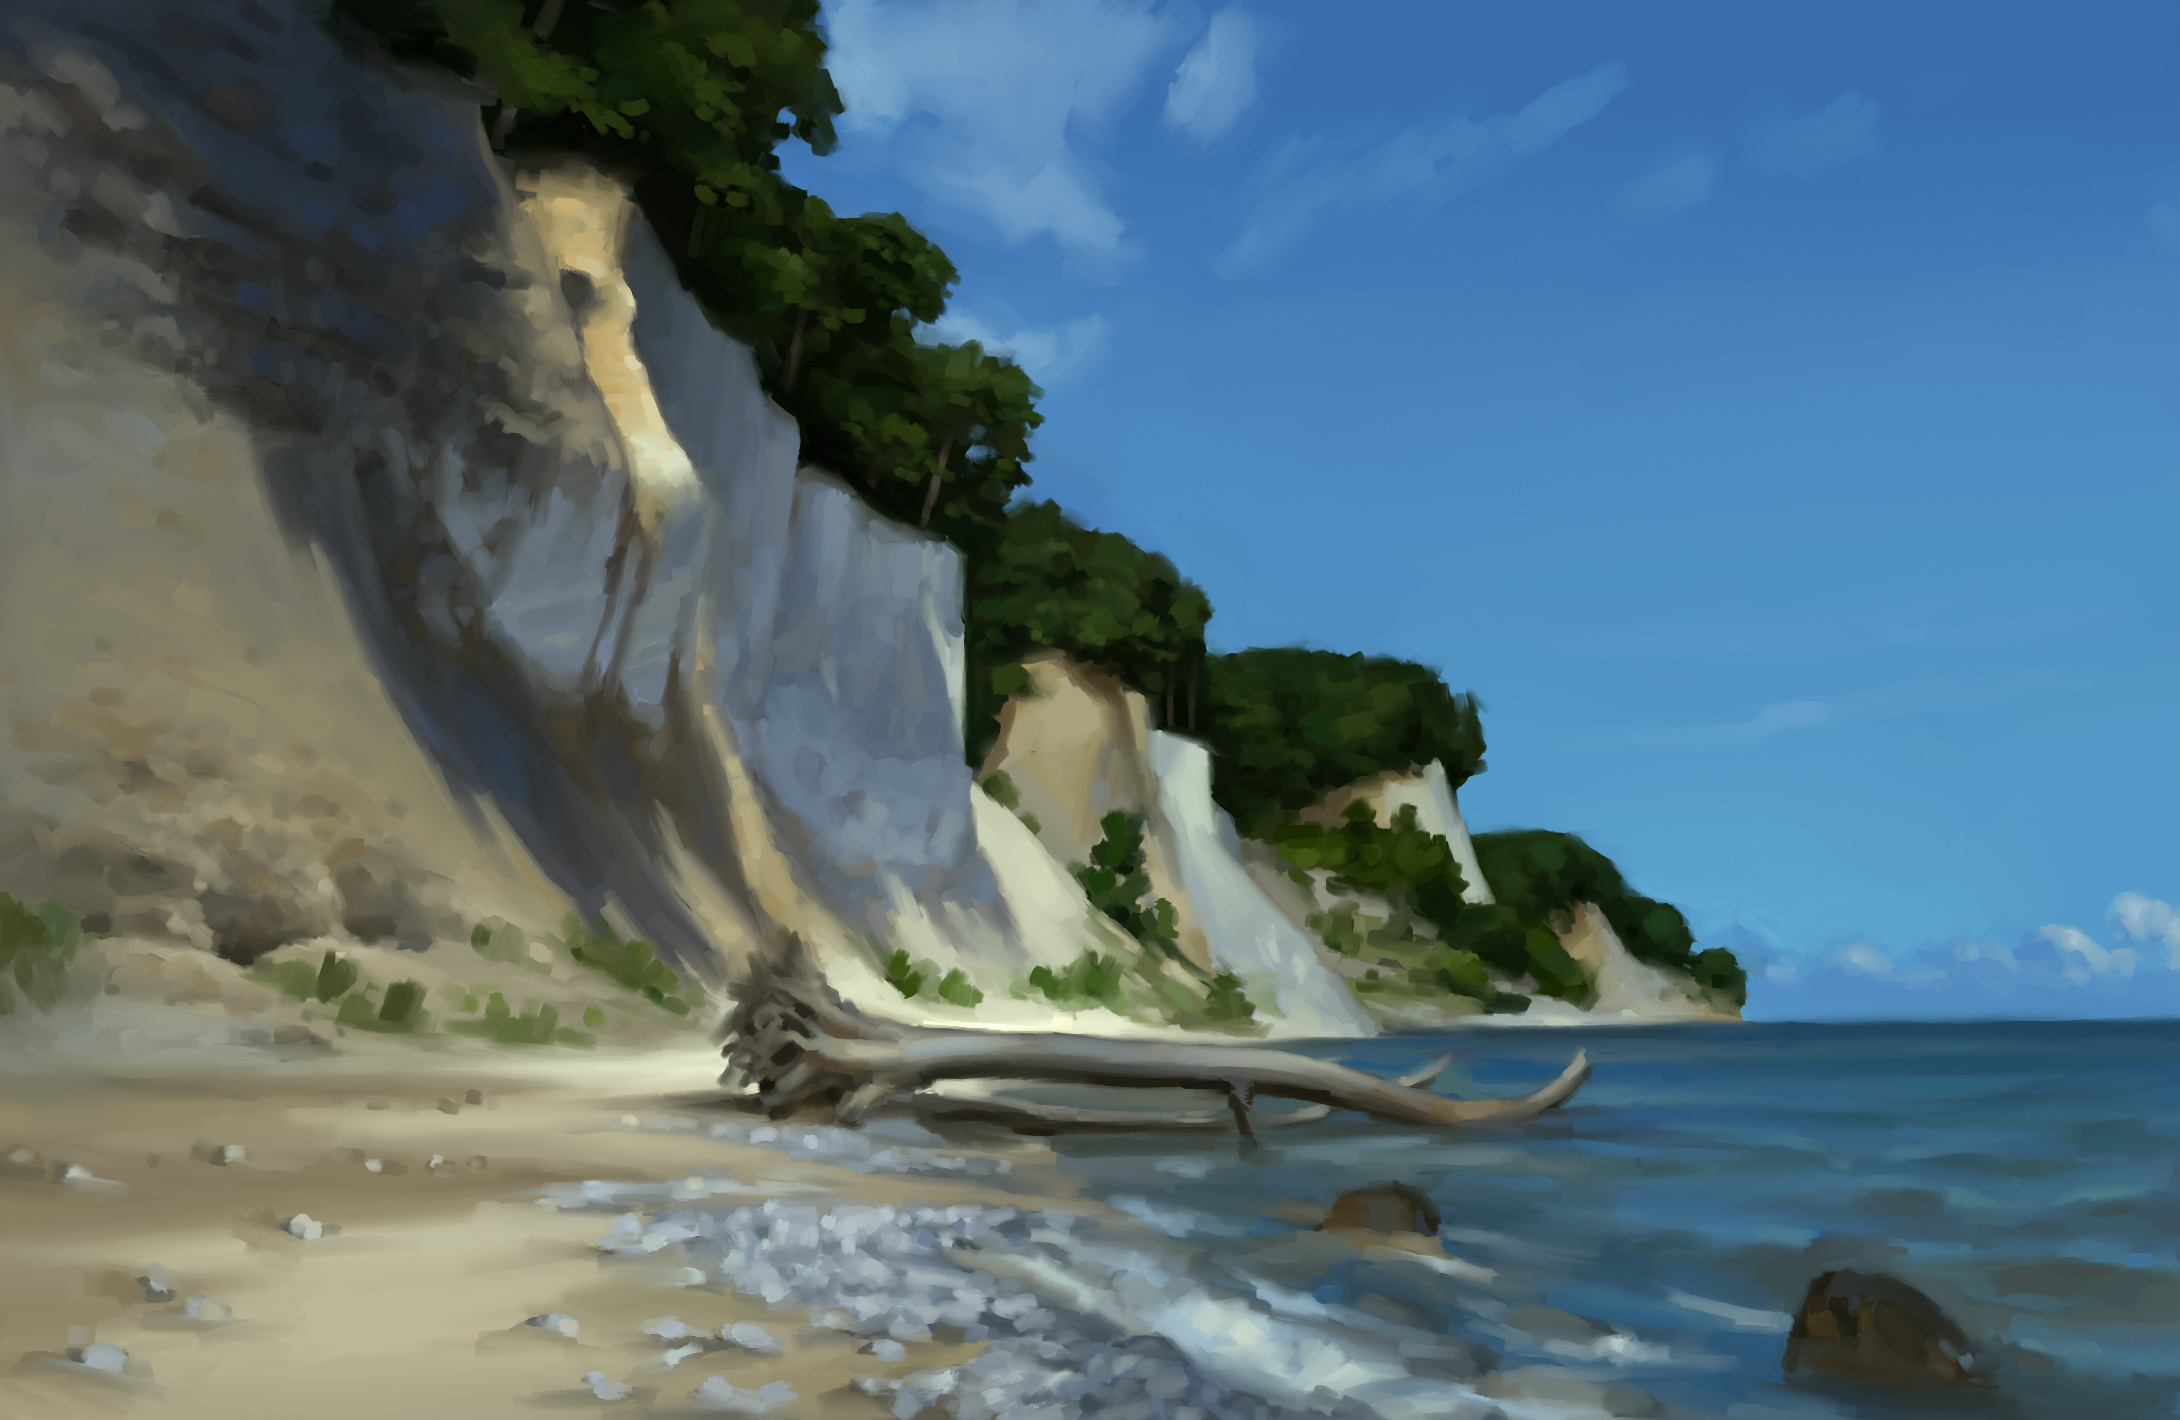
For the outdoor scenes, though, it’s a good choice though, imho
I really enjoy your studies and your videos. ![]() You got awesome sense of values and colors. Also the brushworks are gorgeous! I hope all is well and that maybe one day you can share more of your cool stuff again.
You got awesome sense of values and colors. Also the brushworks are gorgeous! I hope all is well and that maybe one day you can share more of your cool stuff again.
This is very cool! I enjoy watching it! The it looks like a photography , the glass its really cool how you did it, very realistic! =D